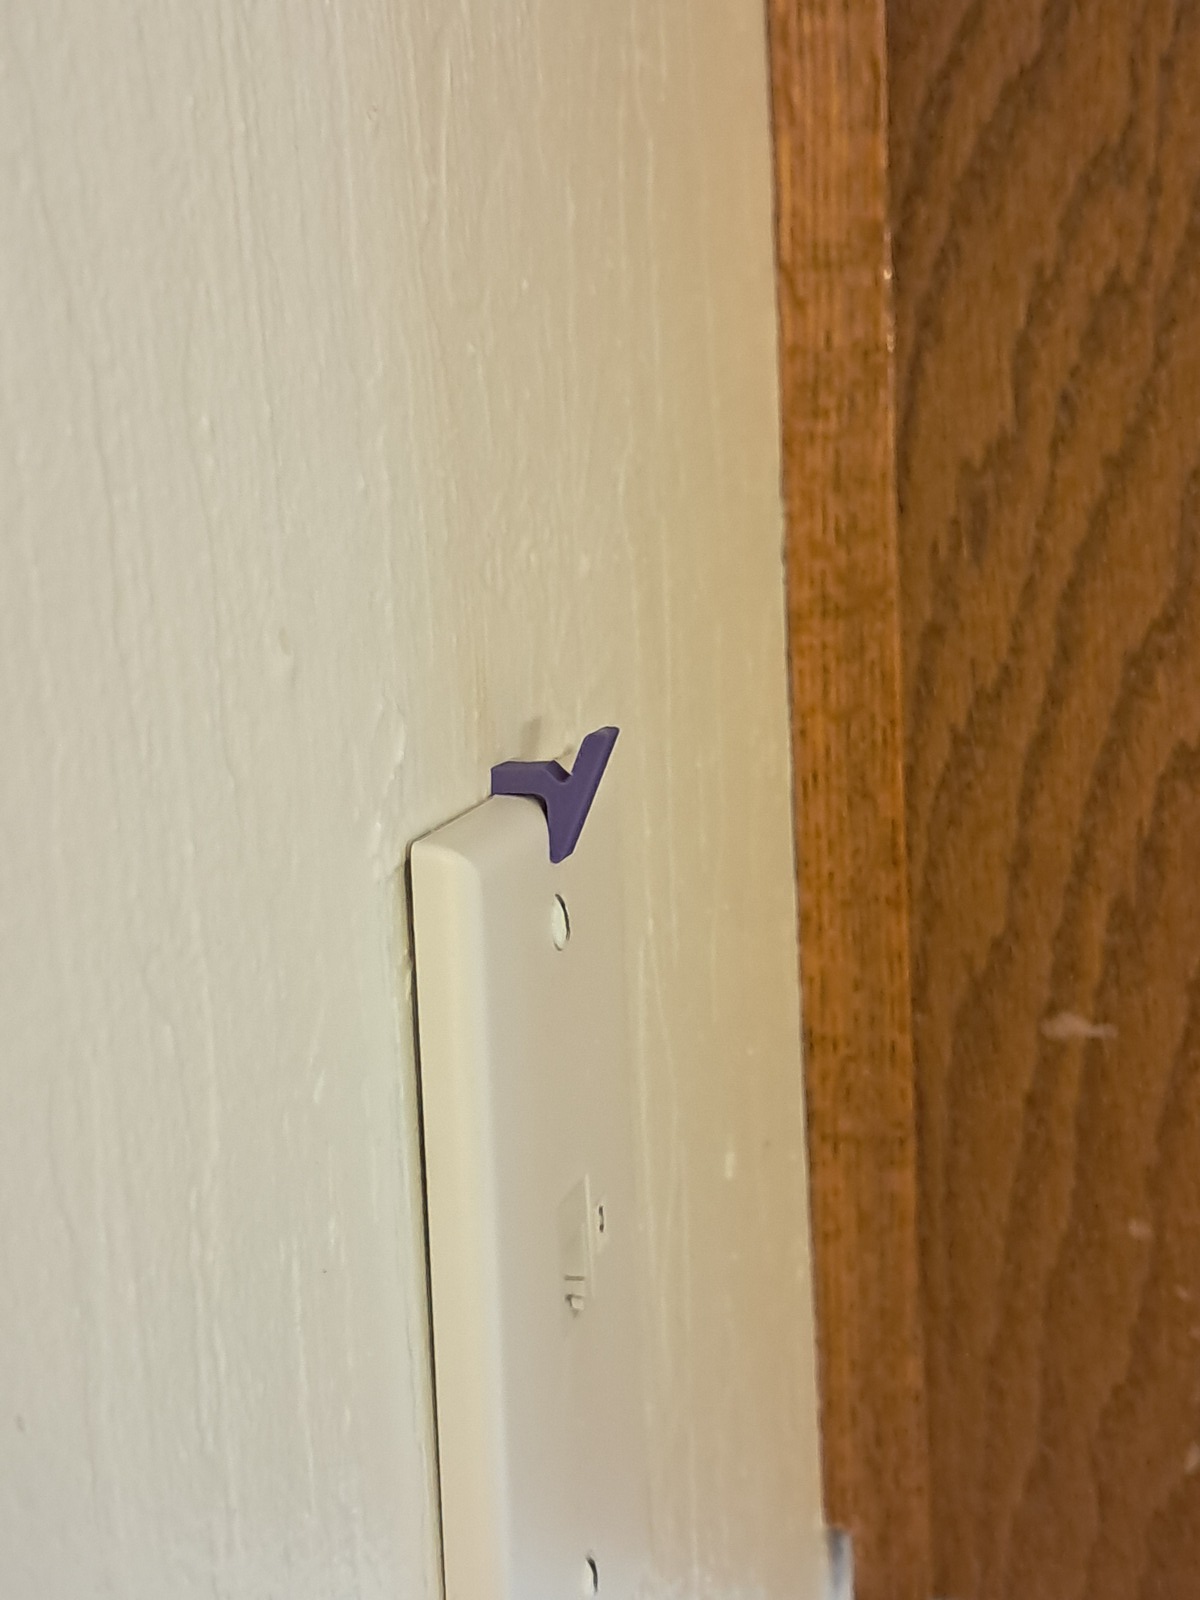
I wrote about more about why I wanted this in the post about the ePhotoFrame. The short version is I wanted to hang something over this old telephone switch plate so I designed this hook which can slip behind the cover and be threaded through by the screw to be held in place. Works great (so far anyway, but I think it’s sturdy enough).
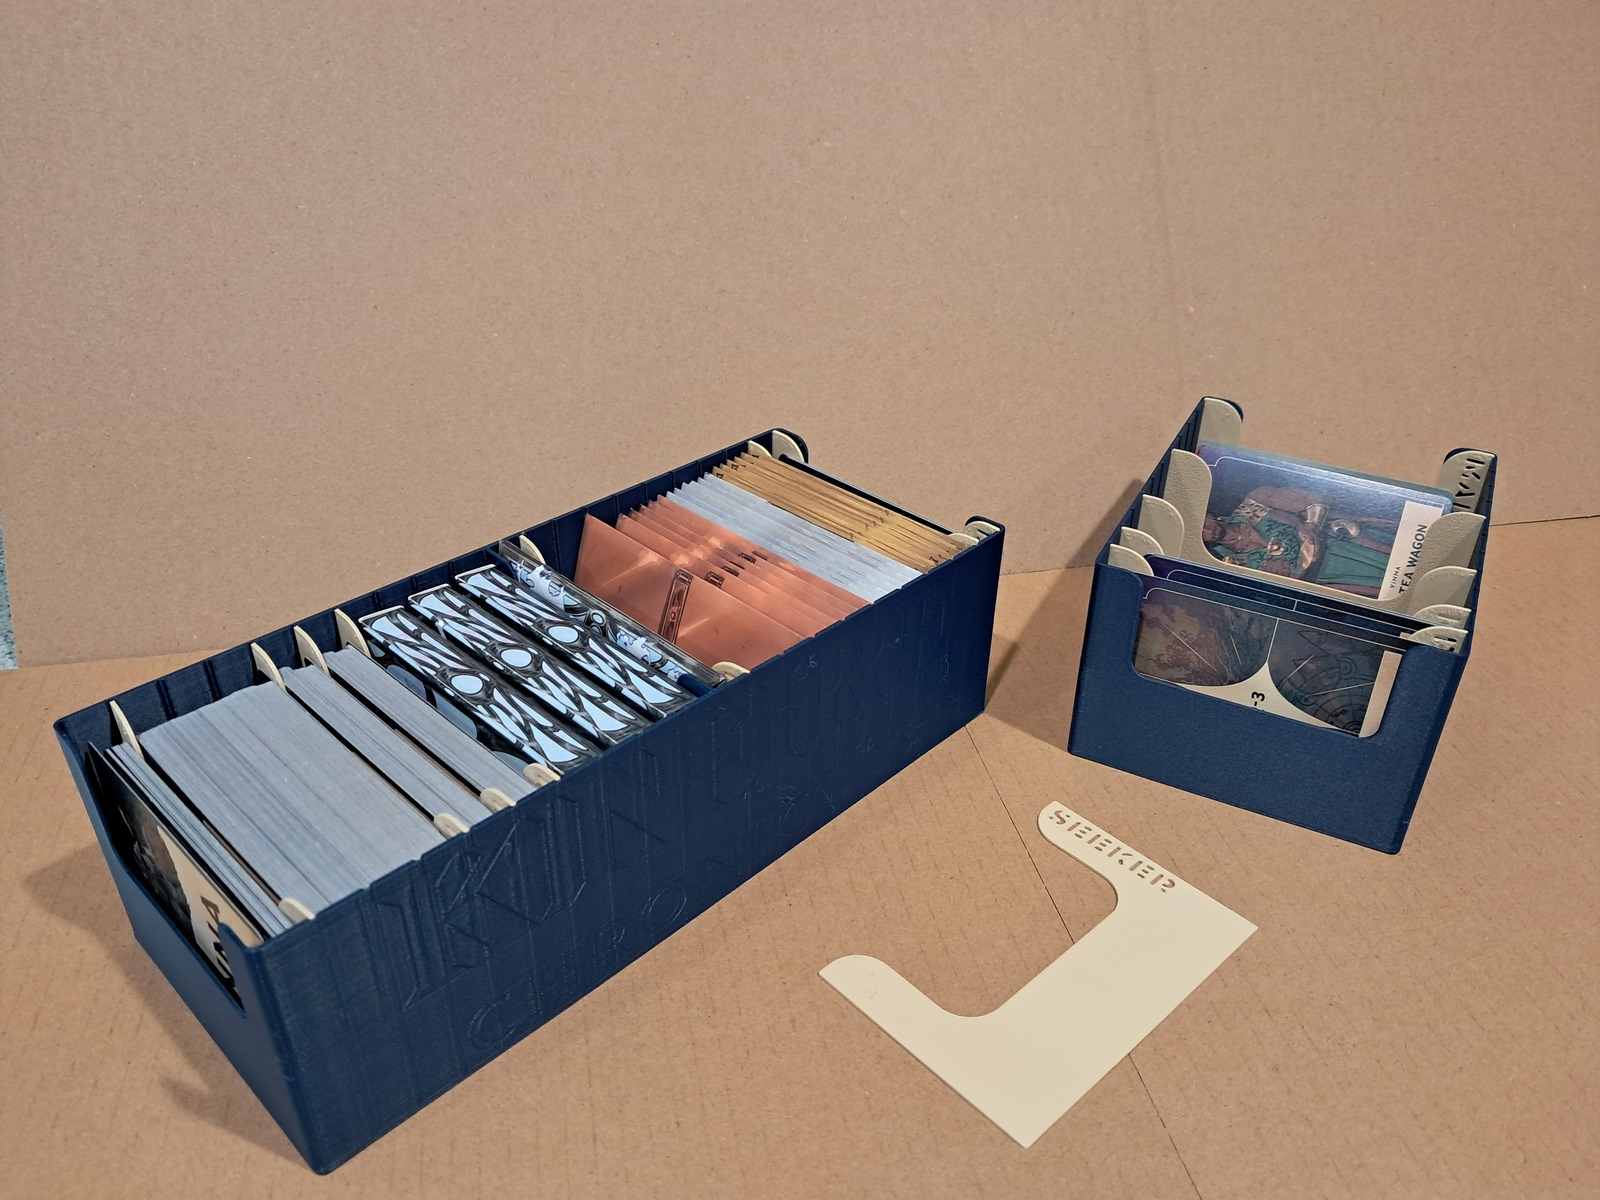
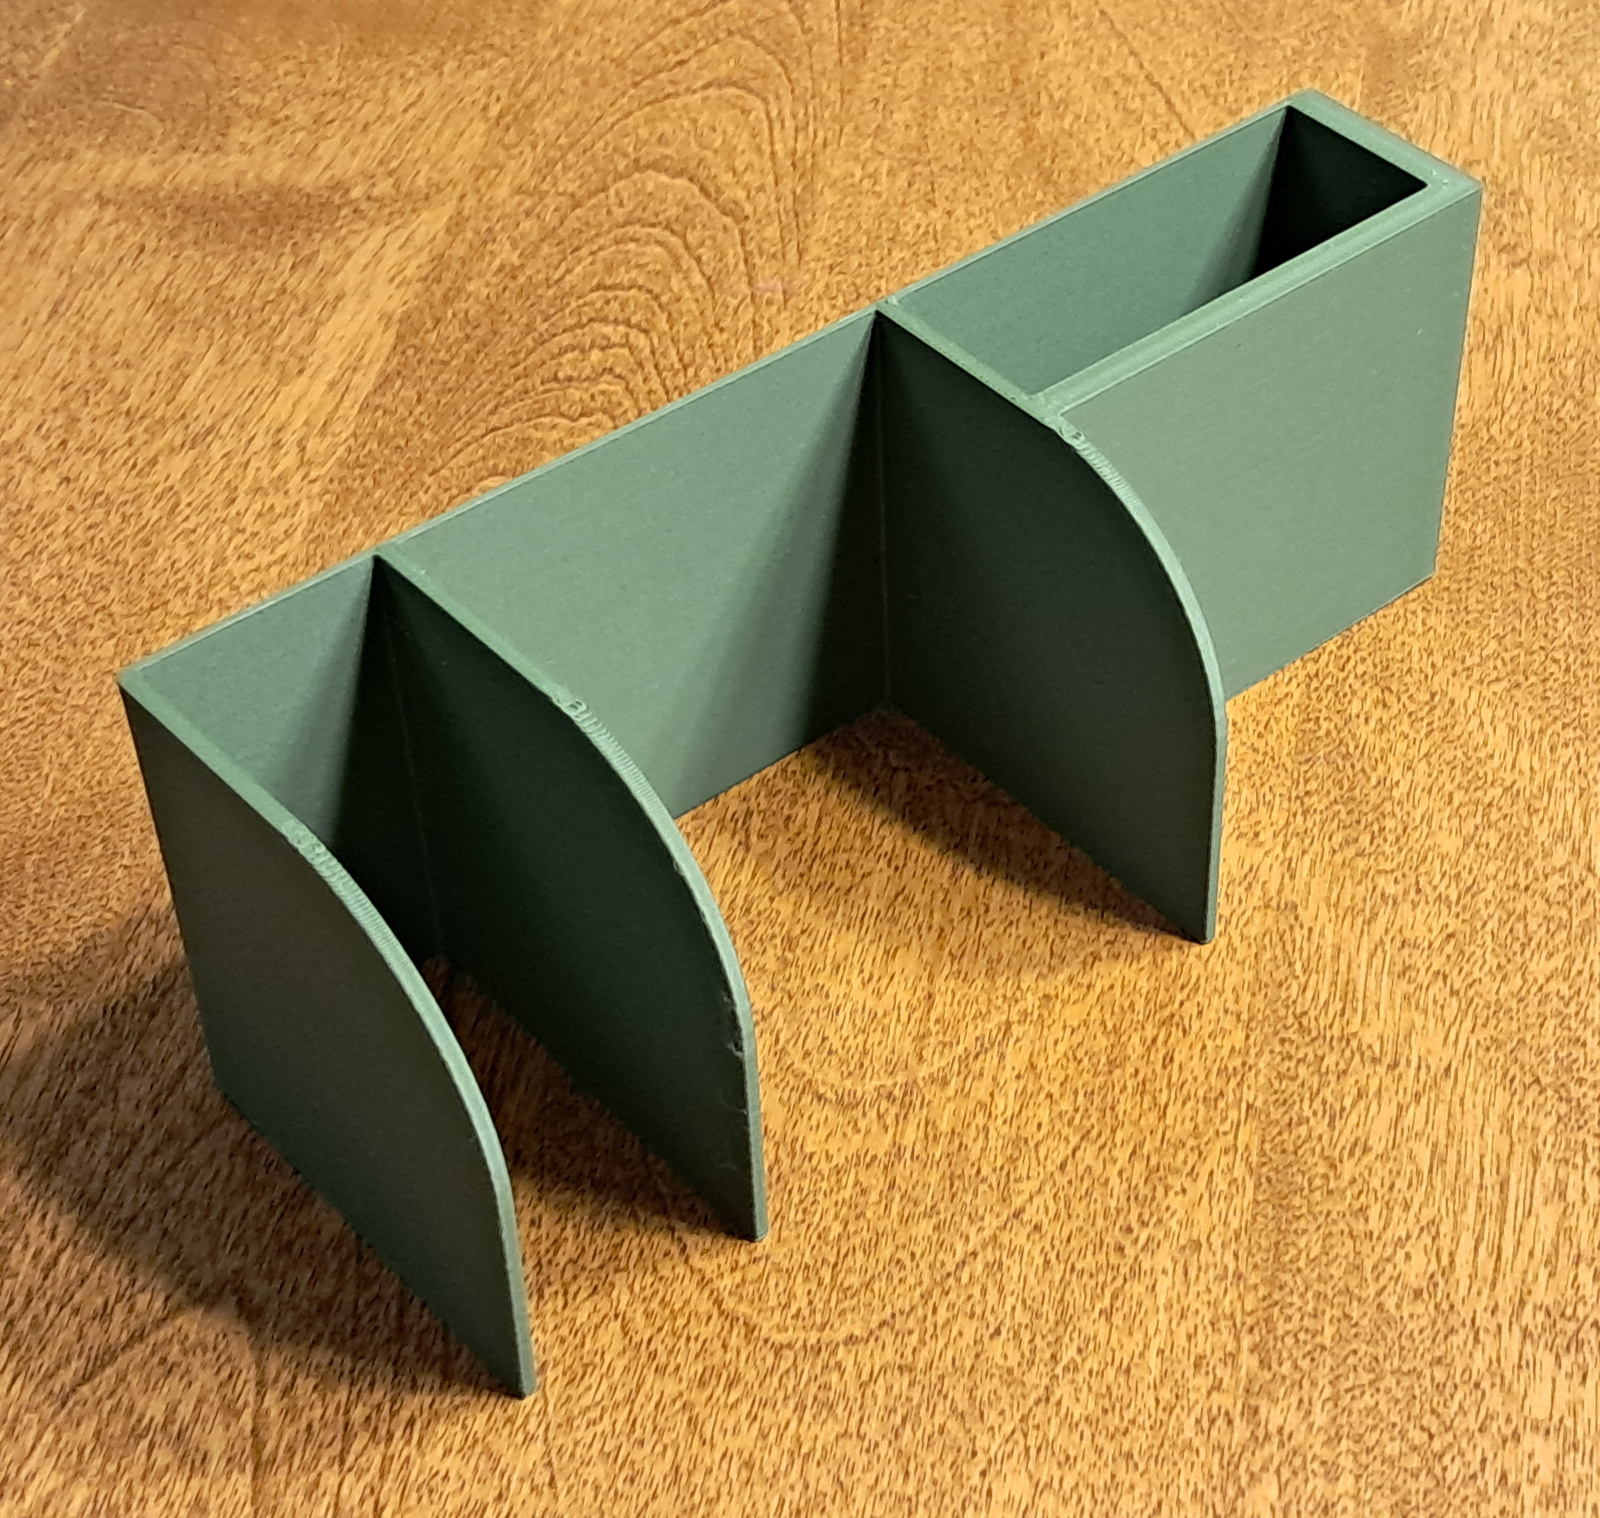
Since the game group I got together chose to play Kinfire Chronicles I decided I needed to redesign the card holder boxes. Especially since, after resetting the game to start fresh, one section of cards didn’t fit at all anymore in my original design. I know a deck of cards will take up more space once it’s been handled for a bit as the cards take on a little warping, but I wouldn’t have thought it would be as pronounced as it was.
Anyway, with my greatly improved skills with SolveSpace I whipped together this version which has movable dividers and should work much more effectively as the game progresses and cards need to move around.
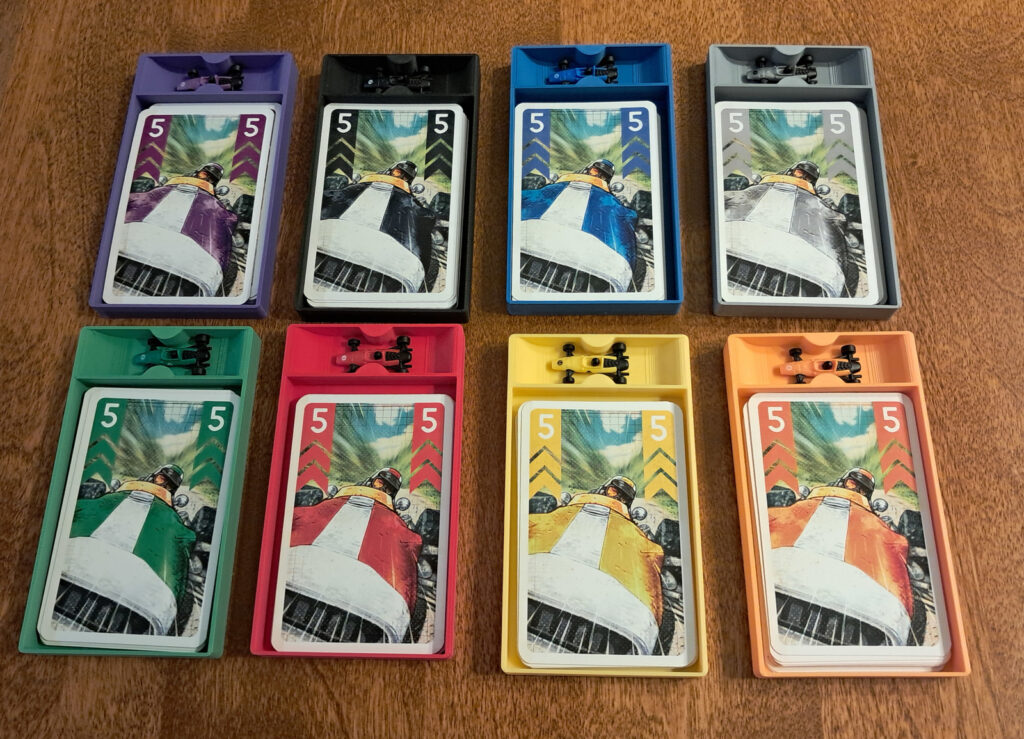
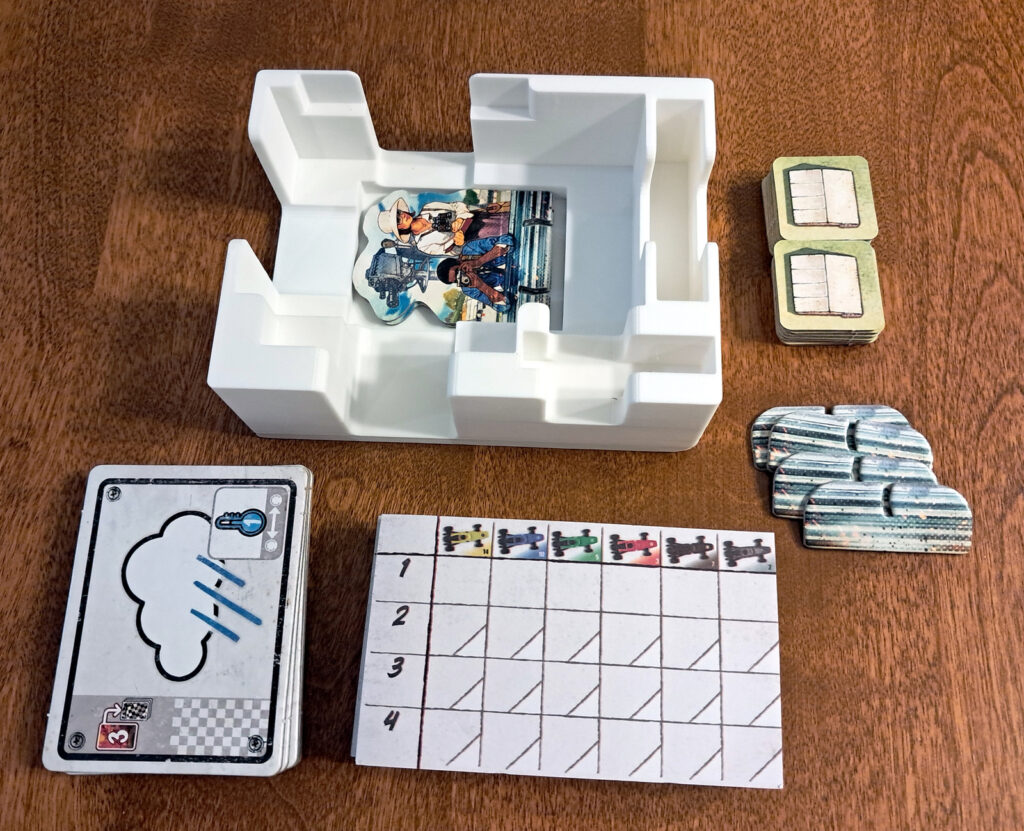
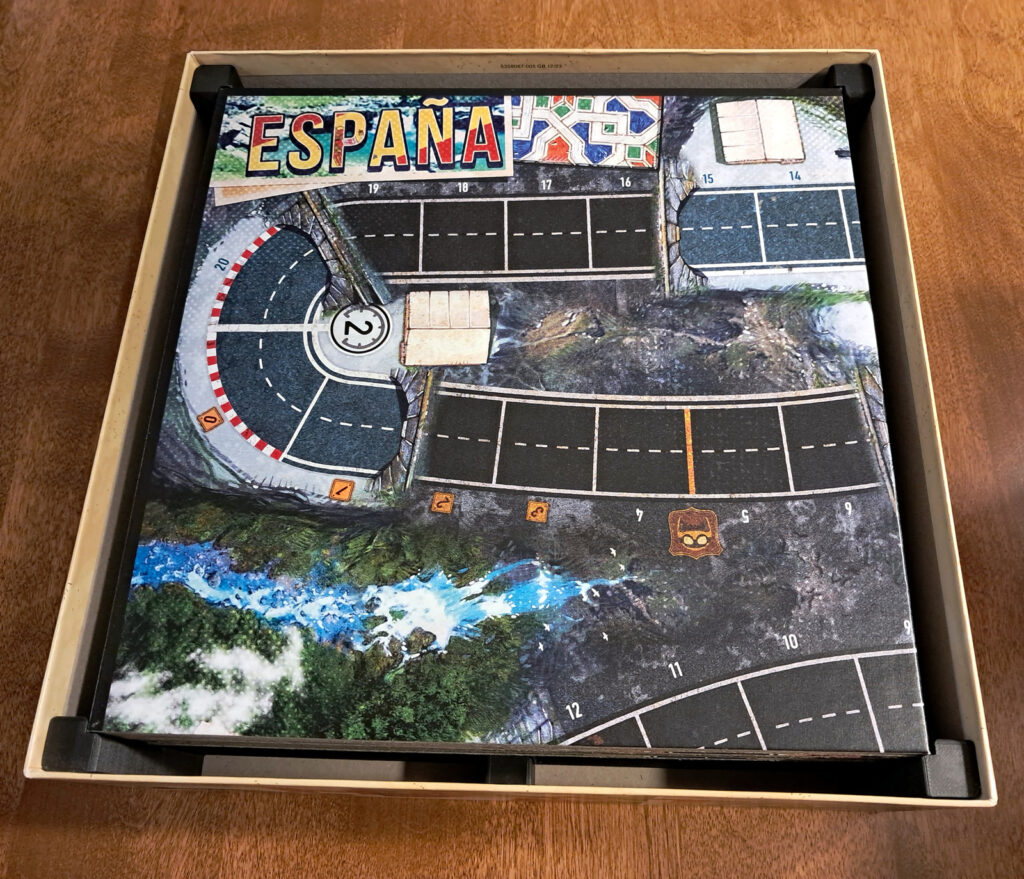
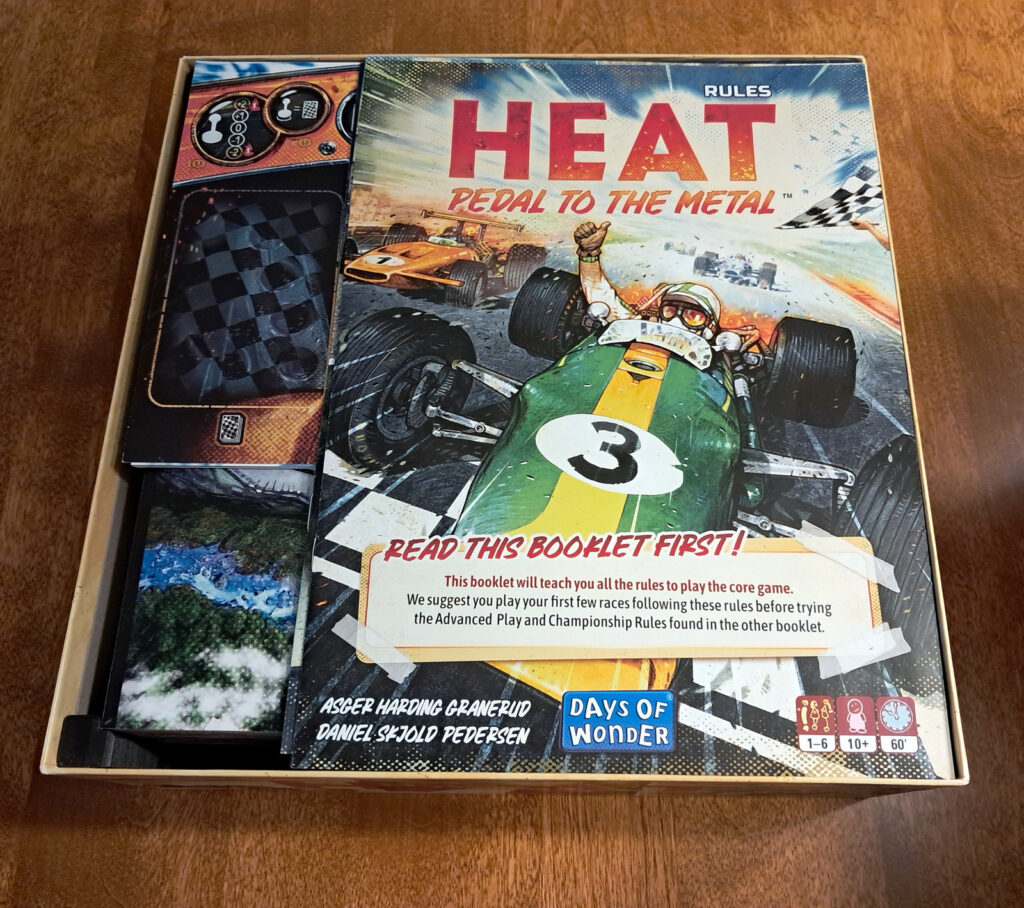
After getting the 2 expansions for Heat: Pedal to the Metal I needed an organizer. As sold you can’t consolidate all the components into the original box. The box, however, does have plenty of room once you remove the original insert. My design criteria included that it needed to fit with no lid lift and in such a way that turning the box sideways or upside down wouldn’t make a mess.
I found one existing organizer design, but didn’t like it and decided to make my own. After many hours of designing, tweaking, redesigning, poking, and prodding I completed it. I’m pretty happy with it.
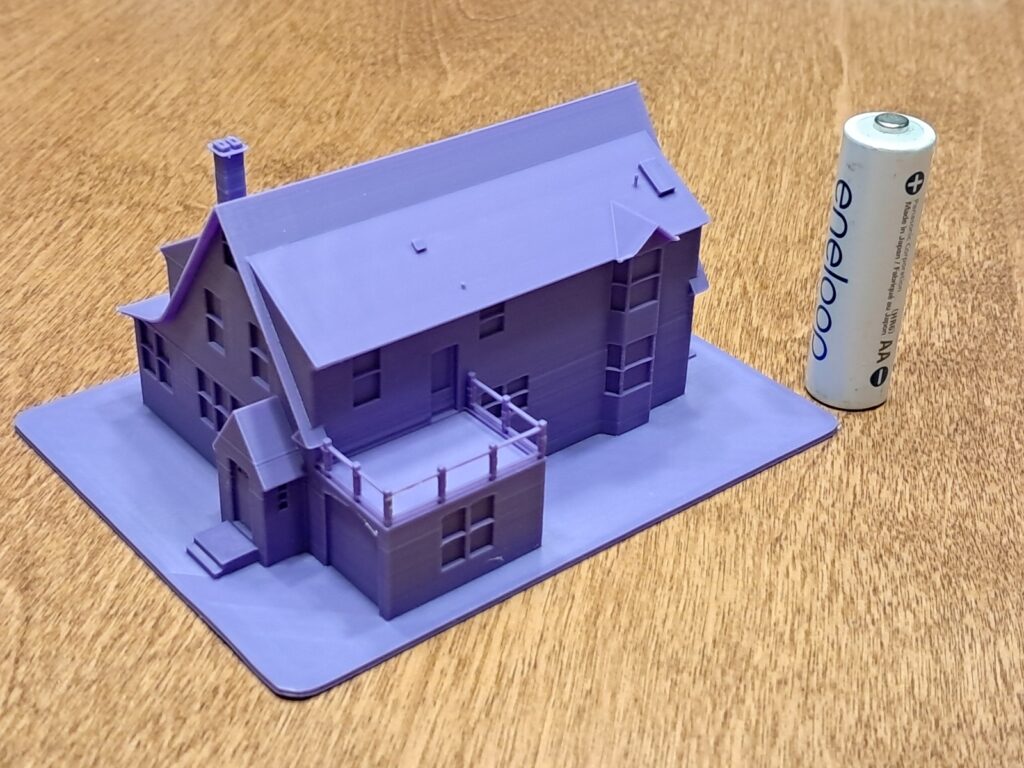
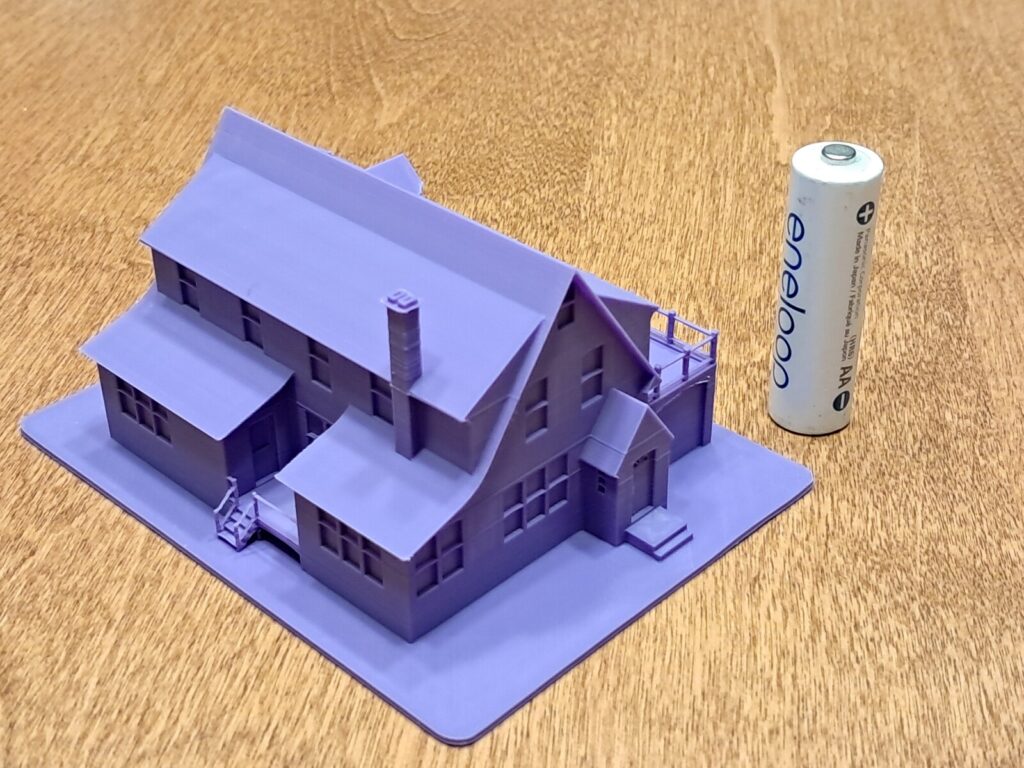
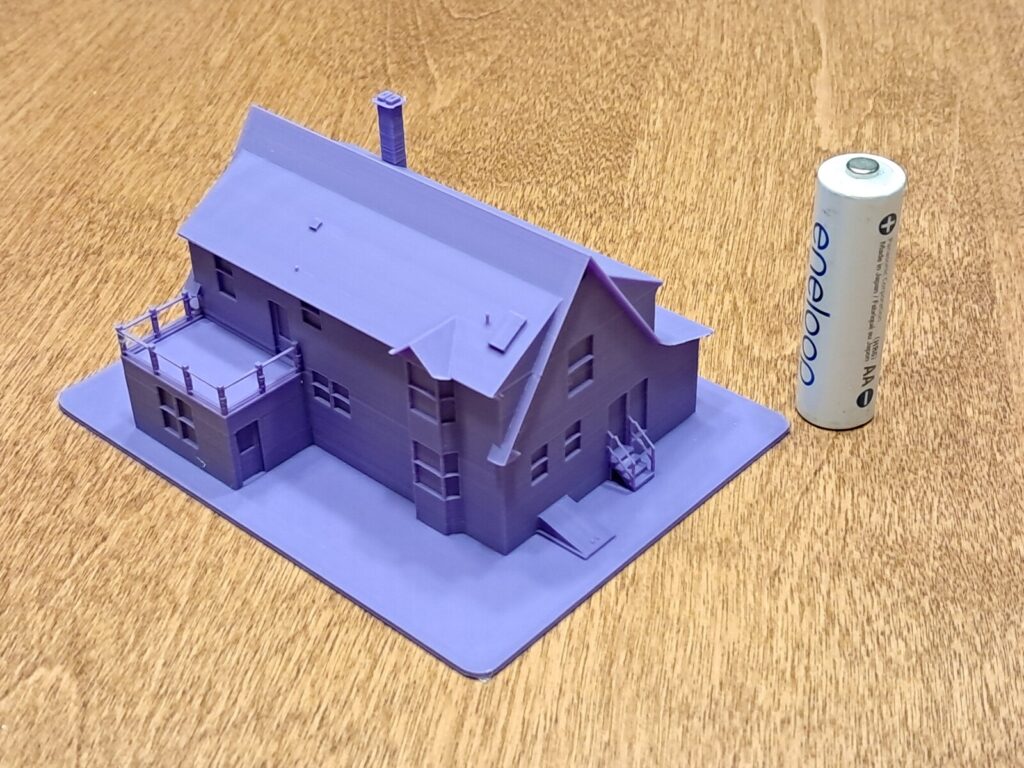
I also finally completed, in preparation for the upcoming family reunion, the model of the Dickerson family house in Cromwell. I had been working on it last autumn, needed some details about the porch over the old garage, got them in the winter, and then couldn’t decide what to do with the model. To print it big enough for the smallest details to come out was going to require it be something like 11″ in the longest dimension. Too big. But also, it was going to need a lot of supports due to the roof overhangs and that was going to be a pain.
I finally decided to drop the finest details and modify the overhangs to be printable by adding subtle arches underneath them or removing sections that simply couldn’t be printed without supports. I then printed one for my parents and for each sibling and gave them out at the family reunion.
And only now as I’m writing this do I realize I never took pictures of all the printed houses! Lame. So here are some pictures of my prototype printed in purple. The final ones were printed in blue on a green base with some minor tweaks to improve issues I found in the prototype. I’m been considering printing one for myself in grey and painting it, but haven’t made up my mind yet.
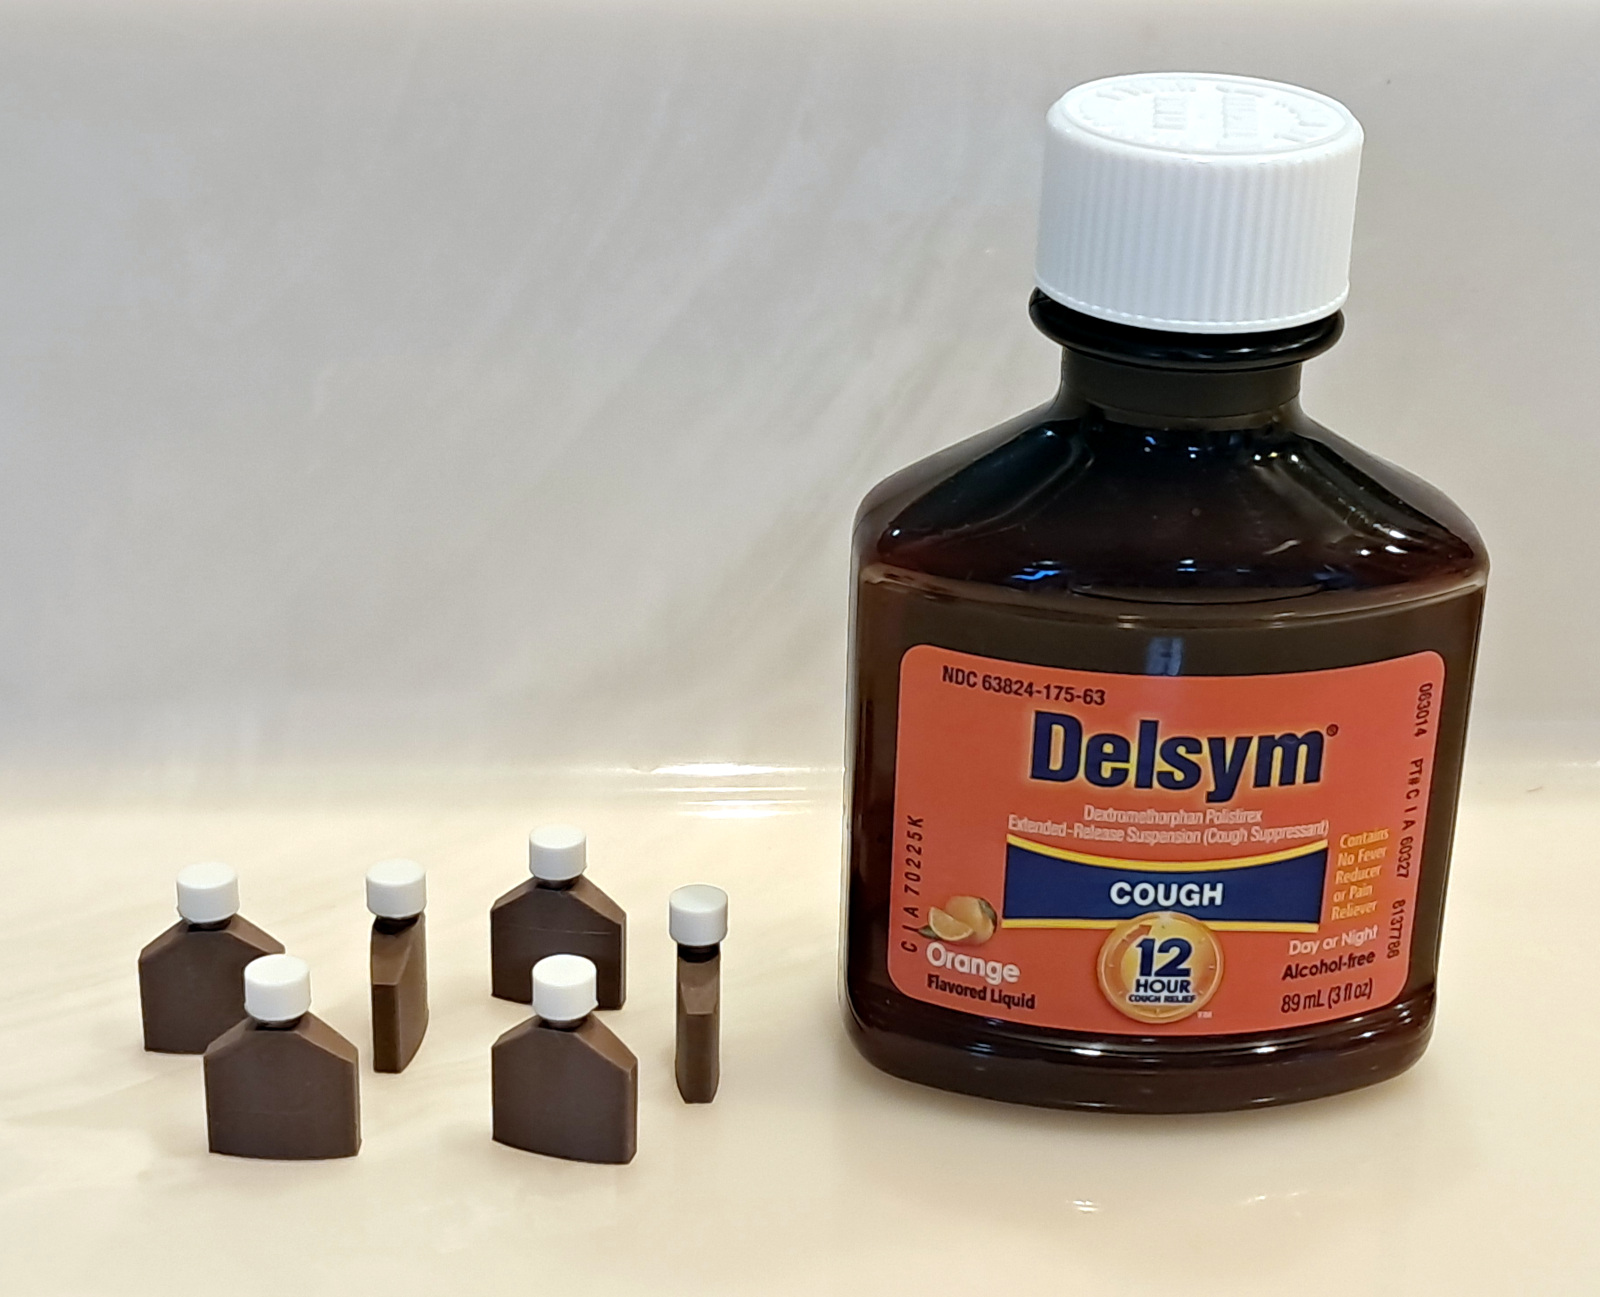
Jess started a new medication which only comes in liquid form, in fact it’s a cough syrup that enhances another medication she takes. To help her remember to take it I designed and printed little bottles to put in her pill case so she sees them when she takes her regular pills.
I modeled it using SolveSpace in like 30 minutes. Pretty happy with how it came out. Here are some of them with the original bottle:
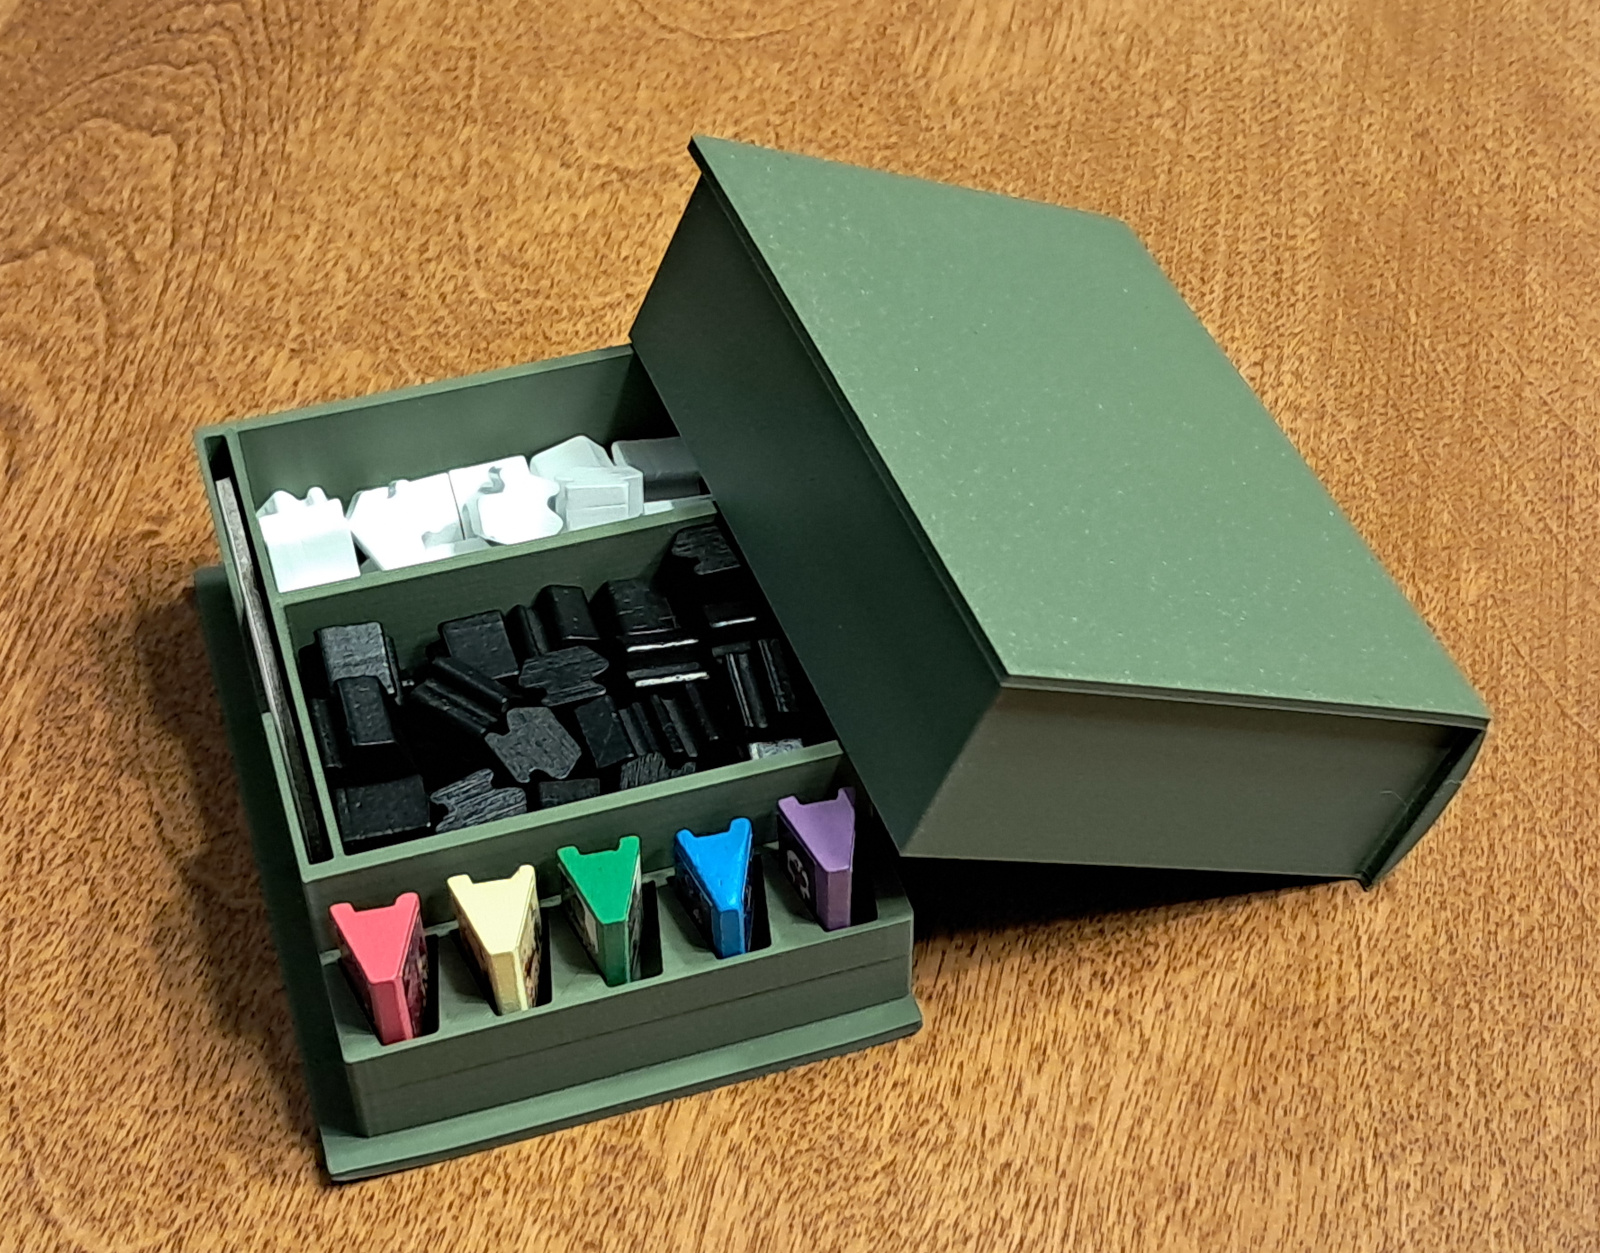
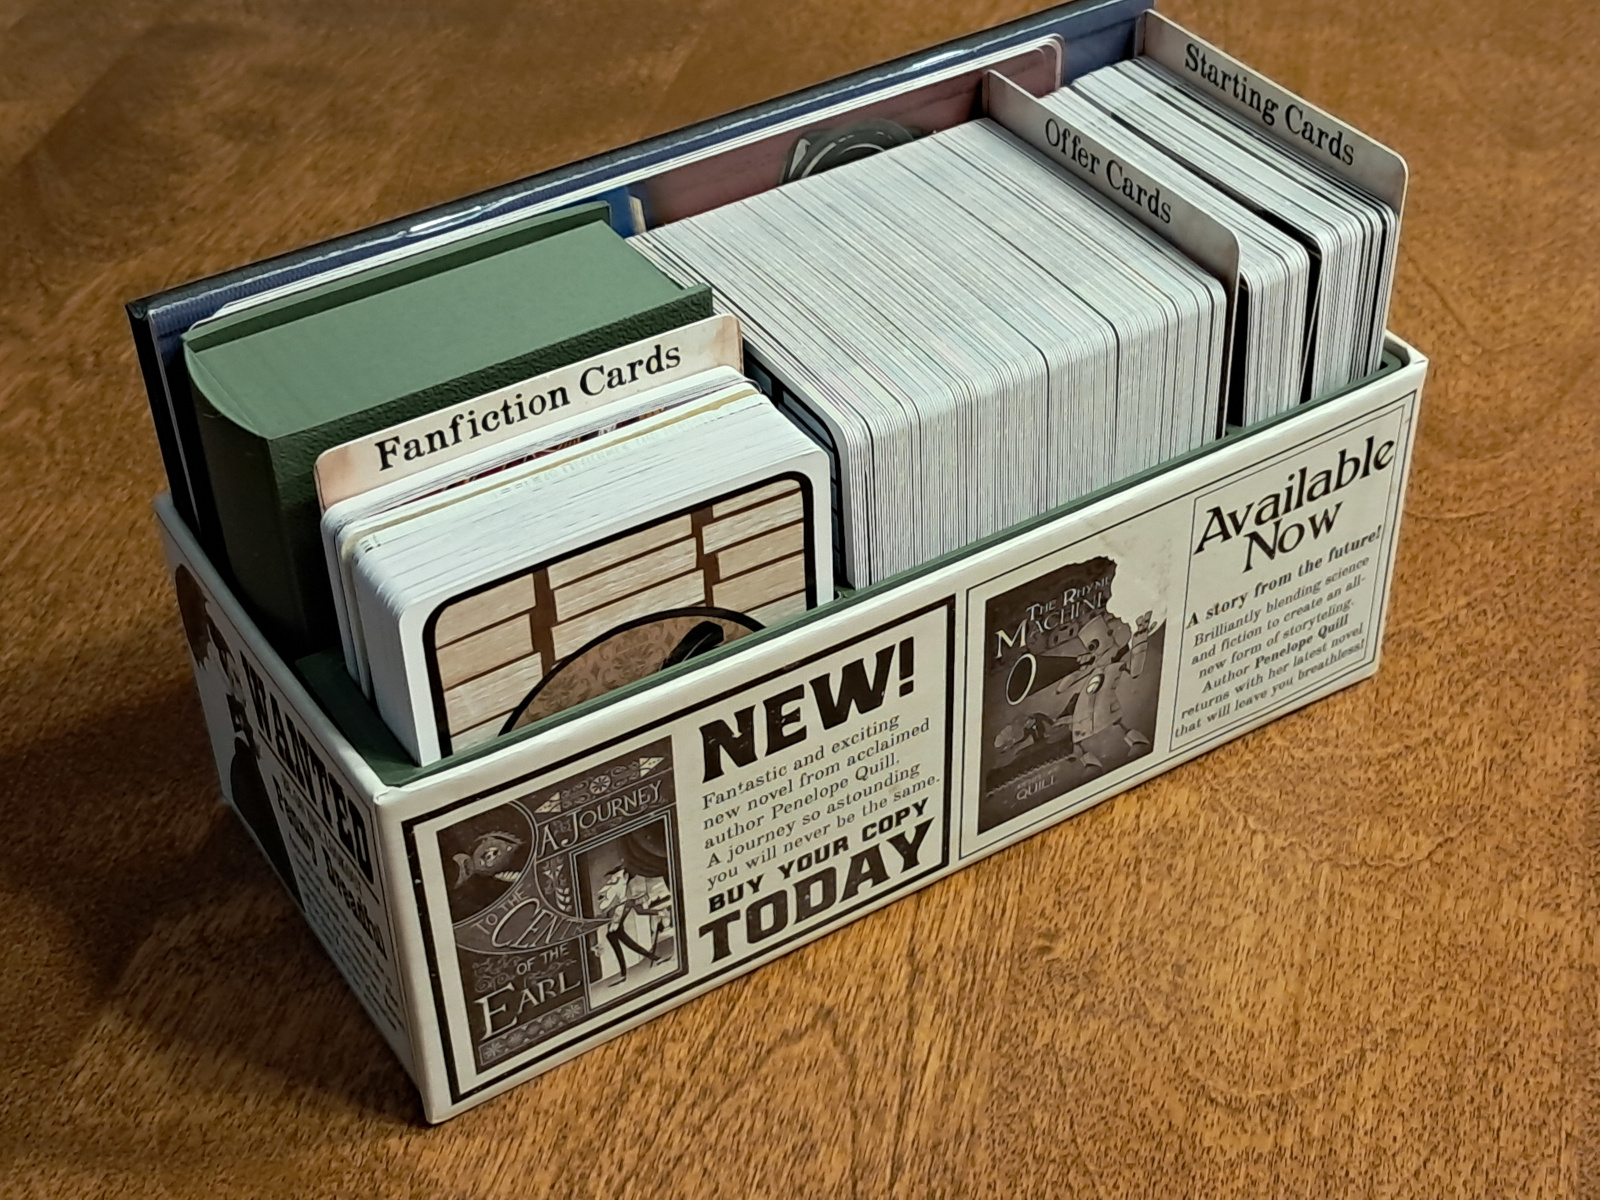
I gave Jess the game Hardback for Mother’s Day. It’s a small box with a bunch of cards in it and some bits and pieces. I found someone designed an organizer for the bits and pieces that looks like a hardcover book. So I printed one of those. However, when I printed it I found it didn’t fit aligned in the box with the cards. It was too wide by ~2-3mm and would bow the box. Rather than try to adjust the model and reprint it I decided to augment what I had with an organizer for the cards so they don’t slide to the bottom when you take some of them out.
So now the bits-organizer sits perpendicular to the cards with room next to it for the game-modifier cards (Fanfiction Cards) with dividers for the other cards to keep everything in place. I’m quite happy with it. Also designed in SolveSpace. I spent a few hours on it partly because I made one design and then decided to scrap it and start over with a different approach.
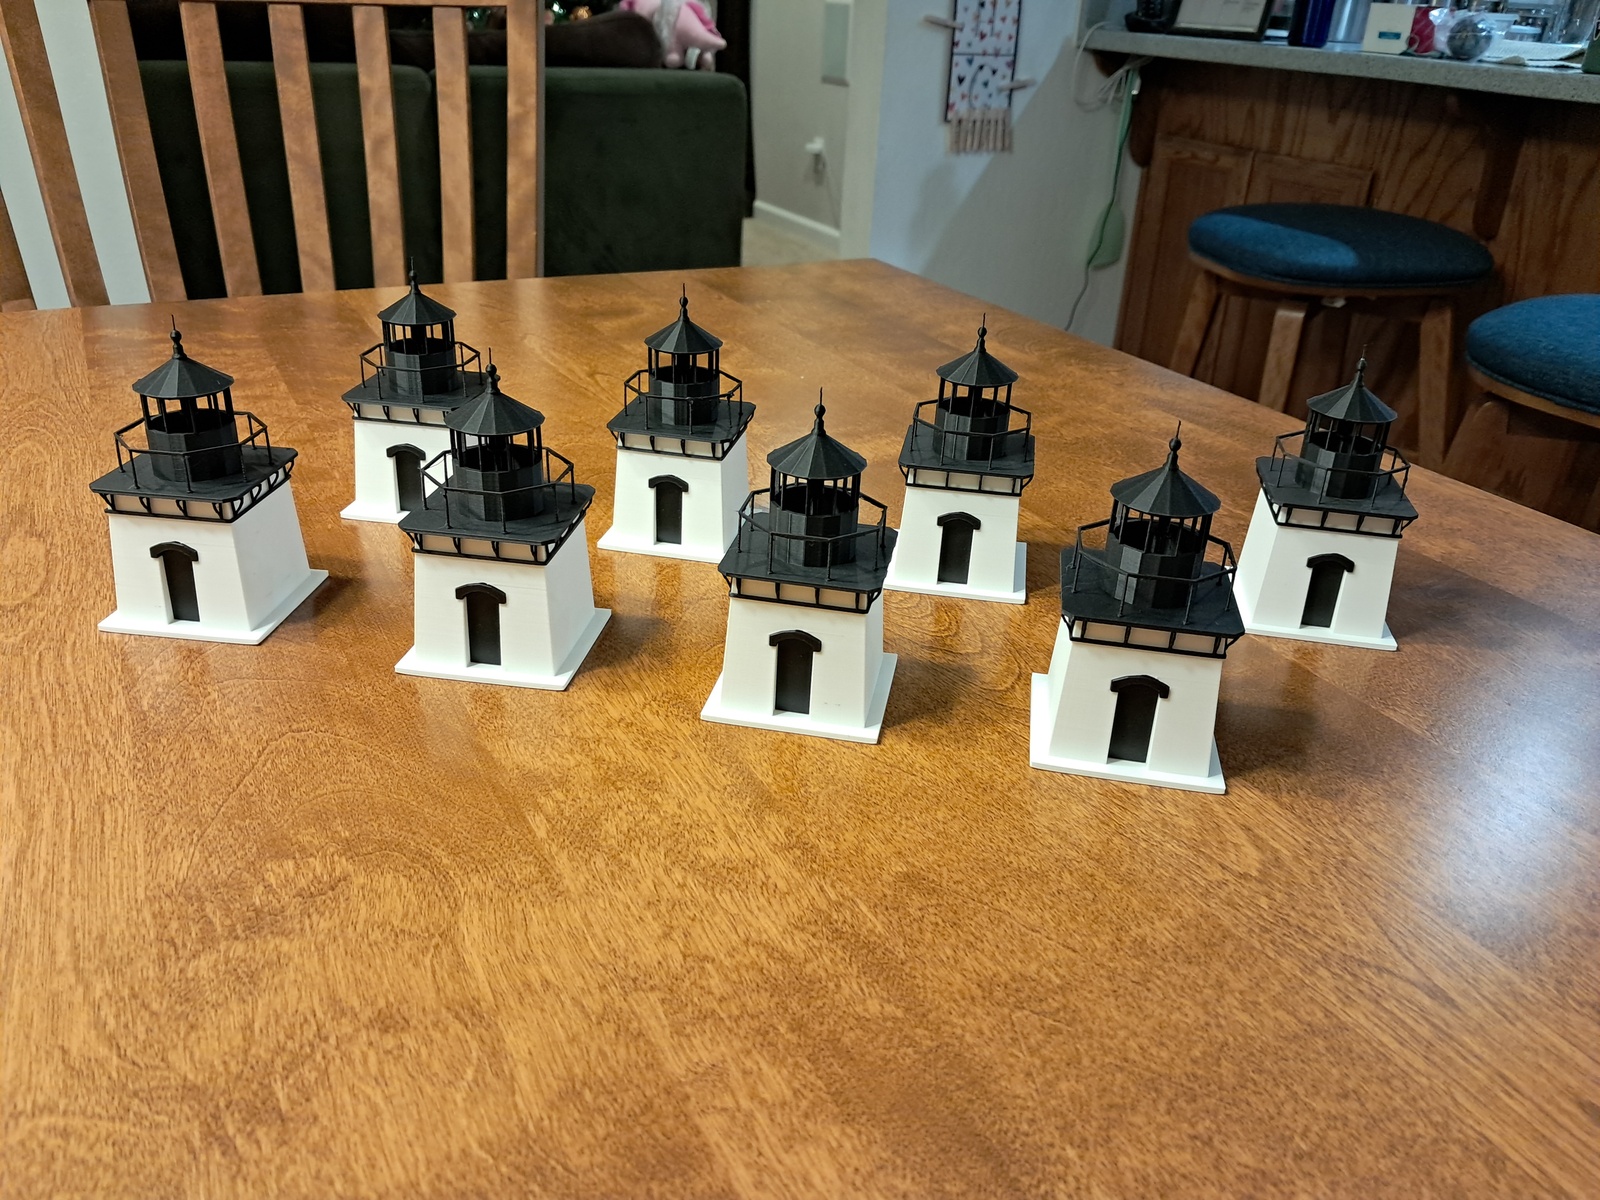
I printed and assembled copies of the Trinidad Head Light Station model, which I designed earlier in the year, to give to my team at work as end-of-the-year gifts (one of our main projects is named after the lighthouse).
That was all I printed this month, but I received some fancy filaments for Christmas that I’ll need to come up with some fun uses for in 2025.
Also didn’t get much designing and printing done this month.
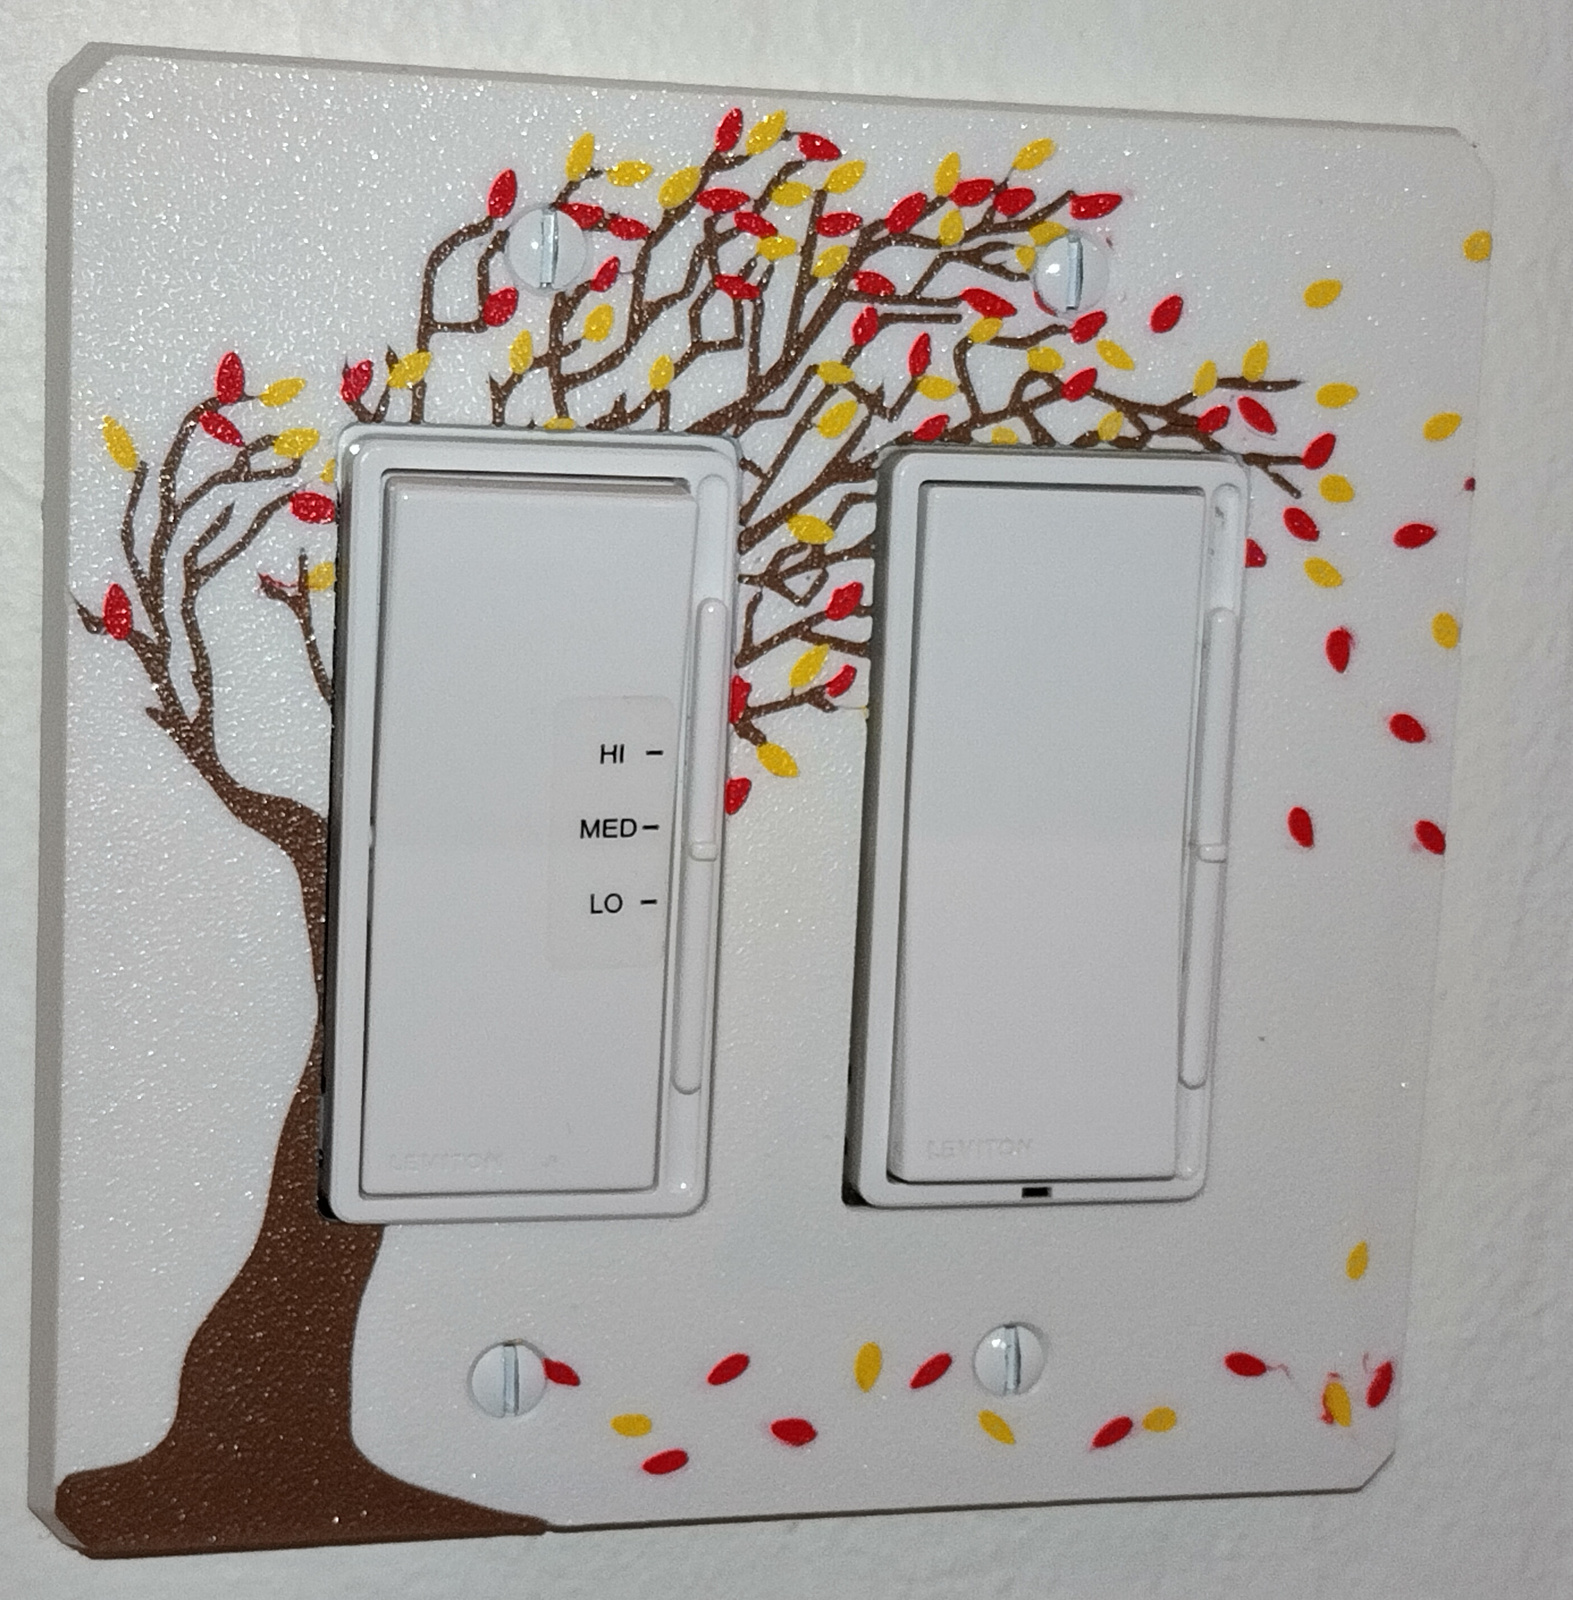
I did make an updated light-switch plate for the living room with fall leaves. Yellow seemed like a nice contrast to the red, but it’s basically impossible to see from a few feet away. Orange would have been a better choice.
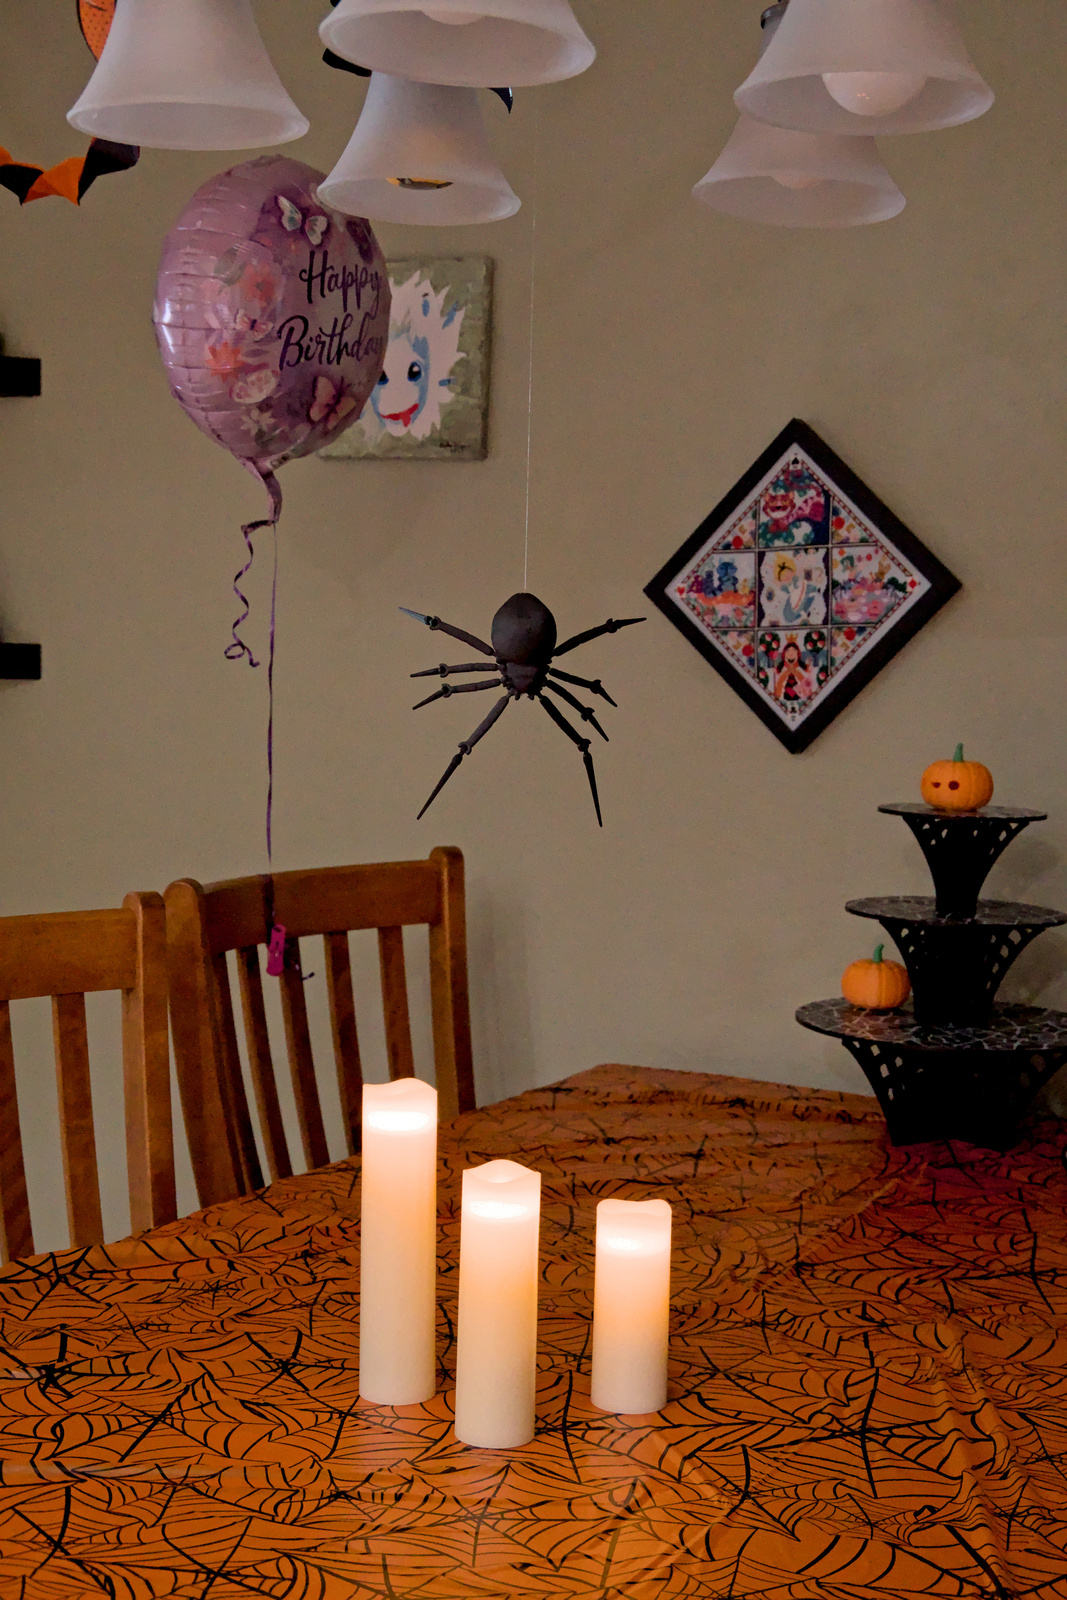
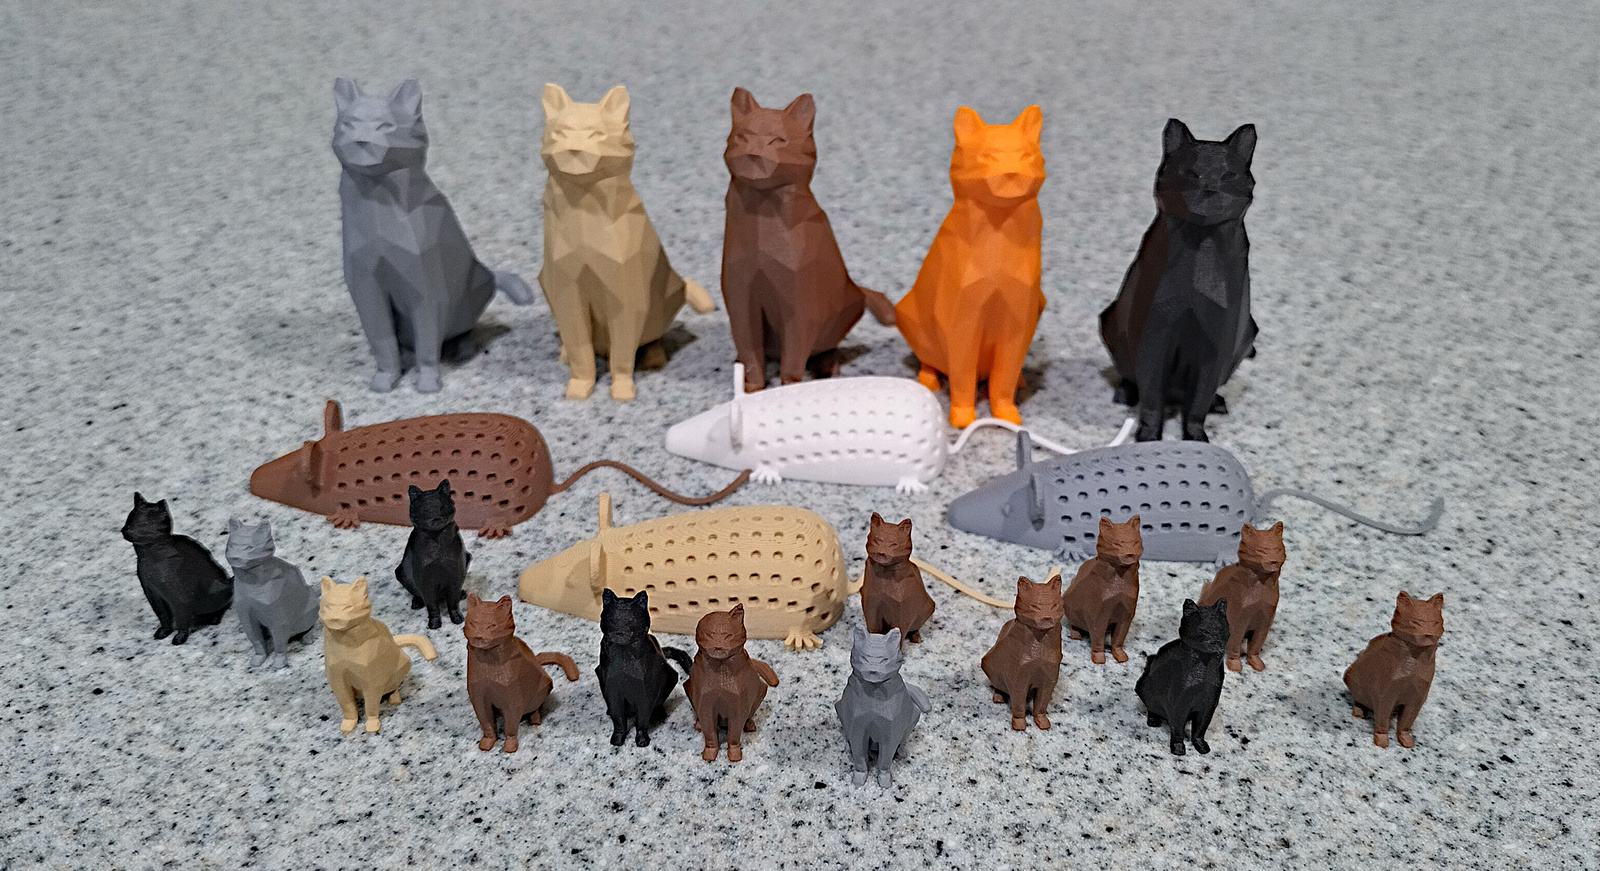
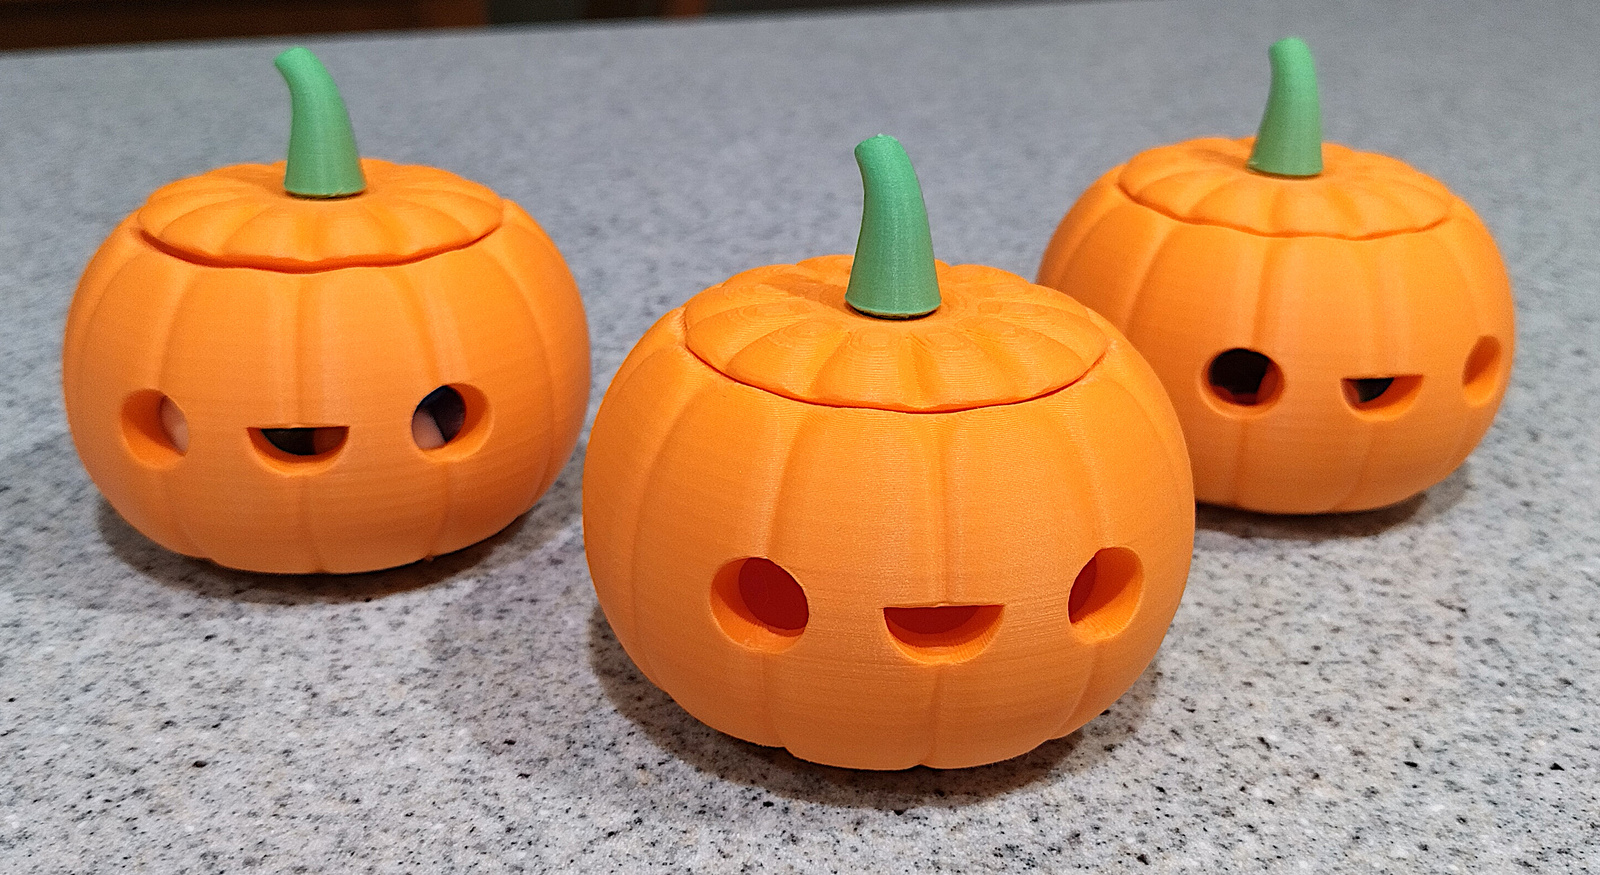
And I printed a bunch of things for Heather’s parties. A spider to dangle from the chandelier, the cats and mice for the adventure, and the party-favor pumpkins.
Pretty cool to be able to decide, “I want a big spider to dangle over the table.” Then click some buttons and in a couple of hours and for less than a dollar you’ve got one.